Document scanning guide
How to Reduce the File Size of a Scanned PDF Without Ruining It
Why scanned PDFs get so big, which resolution and color settings to pick for email, forms and archives, and how to shrink a scan while keeping text sharp.
A scanned PDF is big because every page is a picture. The file size is decided almost entirely by three things: how many pixels each page has (the resolution, measured in DPI), how much color information each pixel carries (color, grayscale or black and white), and how many pages there are. Get those three right when you create or re-export the scan and you rarely need a separate compression tool.
The quick answer: for ordinary text documents, export at around 150–200 DPI in black and white or grayscale. That is readable on screen, prints cleanly, and is a fraction of the size of a full-color, high-resolution scan. The rest of this guide explains why, and when to break that rule.
Why a scanned PDF is so much bigger than a typed one
A PDF you export from a word processor stores text as characters plus font instructions. A whole page of text can be a few kilobytes. A scanned PDF stores a photograph of the page instead, so the file has to describe every dot of ink and every dot of blank paper too.
That is also why the usual advice about "compressing PDFs" is confusing. Most of the size in a scan sits in the page images, so shrinking the file means changing those images: fewer pixels, fewer colors, or stronger image compression. Removing fonts or metadata, which helps with typed PDFs, barely moves the needle on a scan.
Resolution is the biggest lever
DPI (dots per inch) tells you how many pixels describe each inch of the page. Pixel count grows with the square of the DPI: double the resolution and you quadruple the pixels. Going from 150 to 300 DPI gives each page four times as much image data, and going from 150 to 200 DPI gives about 1.8 times as much.
Here is what that means for one A4 page (8.27 × 11.69 inches). The sizes are the raw image data before compression, so real files are much smaller, but the proportions between rows hold up well in practice:
| DPI | Pixels per page | Raw color | Raw grayscale | Raw black & white |
|---|---|---|---|---|
| 72 | 595 × 842 (0.5 MP) | 1.5 MB | 0.5 MB | 0.06 MB |
| 100 | 827 × 1169 (1.0 MP) | 2.9 MB | 1.0 MB | 0.12 MB |
| 150 | 1240 × 1754 (2.2 MP) | 6.5 MB | 2.2 MB | 0.27 MB |
| 200 | 1654 × 2338 (3.9 MP) | 11.6 MB | 3.9 MB | 0.48 MB |
| 300 | 2481 × 3507 (8.7 MP) | 26.1 MB | 8.7 MB | 1.09 MB |
| 400 | 3308 × 4676 (15.5 MP) | 46.4 MB | 15.5 MB | 1.93 MB |
Two things jump out. First, a 300 DPI color page carries over 400 times as much raw data as a 72 DPI black-and-white one. Second, the color choice matters as much as the resolution: color uses three bytes per pixel, grayscale one, and pure black and white just one bit.
Which resolution to choose
- 72–100 DPI: fine for a quick on-screen reference copy of large, clear print. Small print and footnotes start to break up, and the page will look soft if someone prints it.
- 150 DPI: a good default for emailing letters, forms and receipts. Body text is crisp on a phone or laptop screen.
- 200 DPI: a comfortable middle ground when the document has small print, or when it may be printed or read with text recognition (OCR).
- 300 DPI and above: keep this for originals you may need to reprint, documents with very fine detail, and photos. It is overkill for a utility bill.
Do not upscale. Exporting at a higher DPI than the camera actually captured adds pixels but no detail. If a page looks blurry at 200 DPI, it will look just as blurry at 400 DPI, only bigger. Rescan it with better light instead (see our phone scanning lighting tips).
Pick the right color mode for each document
Most paperwork is black text on white paper. Storing it in full color keeps the slight yellow of the paper, the shadow of your hand and the gray noise of the camera sensor, none of which you need.
| Mode | Best for | Watch out for |
|---|---|---|
| Black & white | Typed letters, contracts, printed forms, invoices | Light pencil, faint stamps and colored highlights can disappear or break up |
| Grayscale | Handwriting, pencil notes, faded receipts, pages with gray shading | Larger than black and white, but still far smaller than color |
| Color | Photos, colored charts, documents where a red stamp or blue signature matters | The largest option; combine it with a lower DPI where you can |
A good rule: start in black and white, zoom into the smallest text and any signature or stamp, and only step up to grayscale or color if something important is lost.
Other things that quietly inflate a scan
- Background around the page. If the scan includes a strip of desk or carpet, that is extra detail to store. Crop tightly to the paper edge.
- Noise and shadows. Grainy, dim photos compress badly because the compressor tries to preserve random speckles. Better light gives a cleaner image and a smaller file.
- Blank and duplicate pages. The blank back side of a single-sided form still costs a full page. Delete it.
- Searchable text layers. Making a PDF searchable (OCR) adds an invisible text layer. Text is tiny compared with images, so this rarely adds much, and it makes the document far more useful. It is not the place to save space.
- Putting everything in one file. If a portal rejects your 40-page upload, it may accept the same pages split into logical parts, such as one file per statement or per chapter.
How small does it need to be?
Work backwards from where the file is going:
- Email. Gmail lets you attach up to 25 MB per message, and other providers set their own limits. Many mail servers along the way have smaller caps, so aim well under the limit. A few megabytes is a safe target.
- Upload forms. Government, insurance and job portals often have strict per-file limits, sometimes just a few megabytes. The limit is usually printed next to the upload button; check it before you export.
- Your own archive. Storage is cheap, so favor legibility. A 200 DPI grayscale archive copy is a sensible default, and you can always export a smaller sharing copy later.
A quick sanity check: a typical text page exported at 150–200 DPI in black and white is usually a small fraction of a megabyte. If a single text page comes out at several megabytes, it is almost certainly being stored in color at a high resolution.
A step-by-step workflow for shrinking a scan
- Start from the best source you have. Re-export from the original scan rather than compressing an already-compressed PDF. Each lossy pass loses detail.
- Crop and clean up pages. Remove desk edges, blank backs and duplicate shots.
- Choose a color mode. Black and white for printed text, grayscale for handwriting, color only where color carries meaning.
- Lower the resolution to fit the purpose. 150 DPI for screen and email, 200 DPI if it will be printed or run through OCR.
- Export and check the size. Compare it with your target.
- Zoom in before you send. Check the smallest print, numbers, signatures and stamps at 100% zoom. If anything is hard to read, step the resolution back up one notch rather than switching everything to color.
How to do it in OnlyScans
In OnlyScans, all of these controls live on the export screen, and you can change them every time you export without touching the scan saved in your library. On Android:
- Open the document and tap Export.
- Under Format, keep PDF Document.
- Under Global Filter, pick B&W for printed text, Grayscale for handwriting or faded paper, or Original when color matters. B&W is the default, and the preview at the top updates so you can see what you are giving up.
- Use the Quality slider to set the resolution. It runs from Compact at 72 DPI through Standard at 200 DPI (the default) up to Maximum at 400 DPI, and shows the exact DPI as you drag. For an email copy, try somewhere around 150 DPI.
- Choose Fit or Fill for page layout and tap Export PDF. The confirmation shows the final file size, so if it is still too large, go back and lower the slider a step.
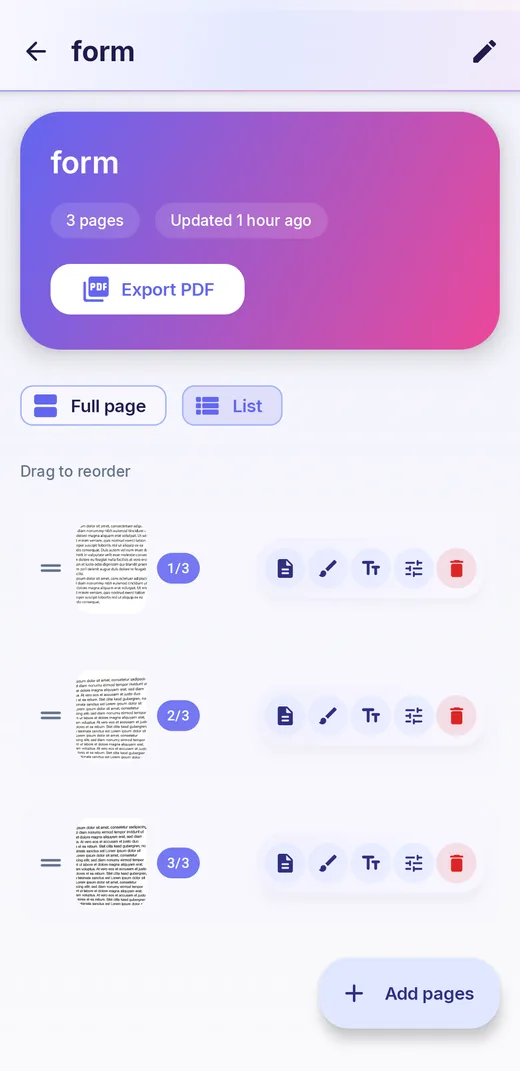
All of this is part of the free tier. The iPhone version uses the same 72–400 DPI quality slider, and adds Black & white and Optimize for size switches on its export screen. Exported pages on Android are placed on A4-sized PDF pages, so the DPI table above matches what you get.
If you only need the words rather than the look of the page, exporting to Word (.docx) is another way to end up with a small, editable file. Our sister site explains that route in its scan to Word guide.
Frequently asked questions
Will compressing a scanned PDF make it unreadable?
Only if you go too far. Text stays sharp at 150–200 DPI in black and white for most printed documents. Problems start below about 100 DPI or when faint handwriting is forced into pure black and white. Always zoom in on the smallest text before you send.
Is JPEG or PNG better for scanned pages?
For photos of pages, JPEG is usually much smaller. PNG is lossless, which keeps every pixel exact but produces larger files for photographic images. If you must send images rather than a PDF, JPEG at a sensible quality is the practical choice for most documents.
Does making the PDF searchable increase its size?
A little. The OCR text layer is plain text, which is tiny next to the page images. The convenience of being able to search and copy the text is almost always worth it.
Why is my 2-page scan bigger than a 20-page report?
The report was probably created digitally, so its pages are stored as text. Your scan stores each page as an image. Lowering the resolution and switching to black and white is the fix.